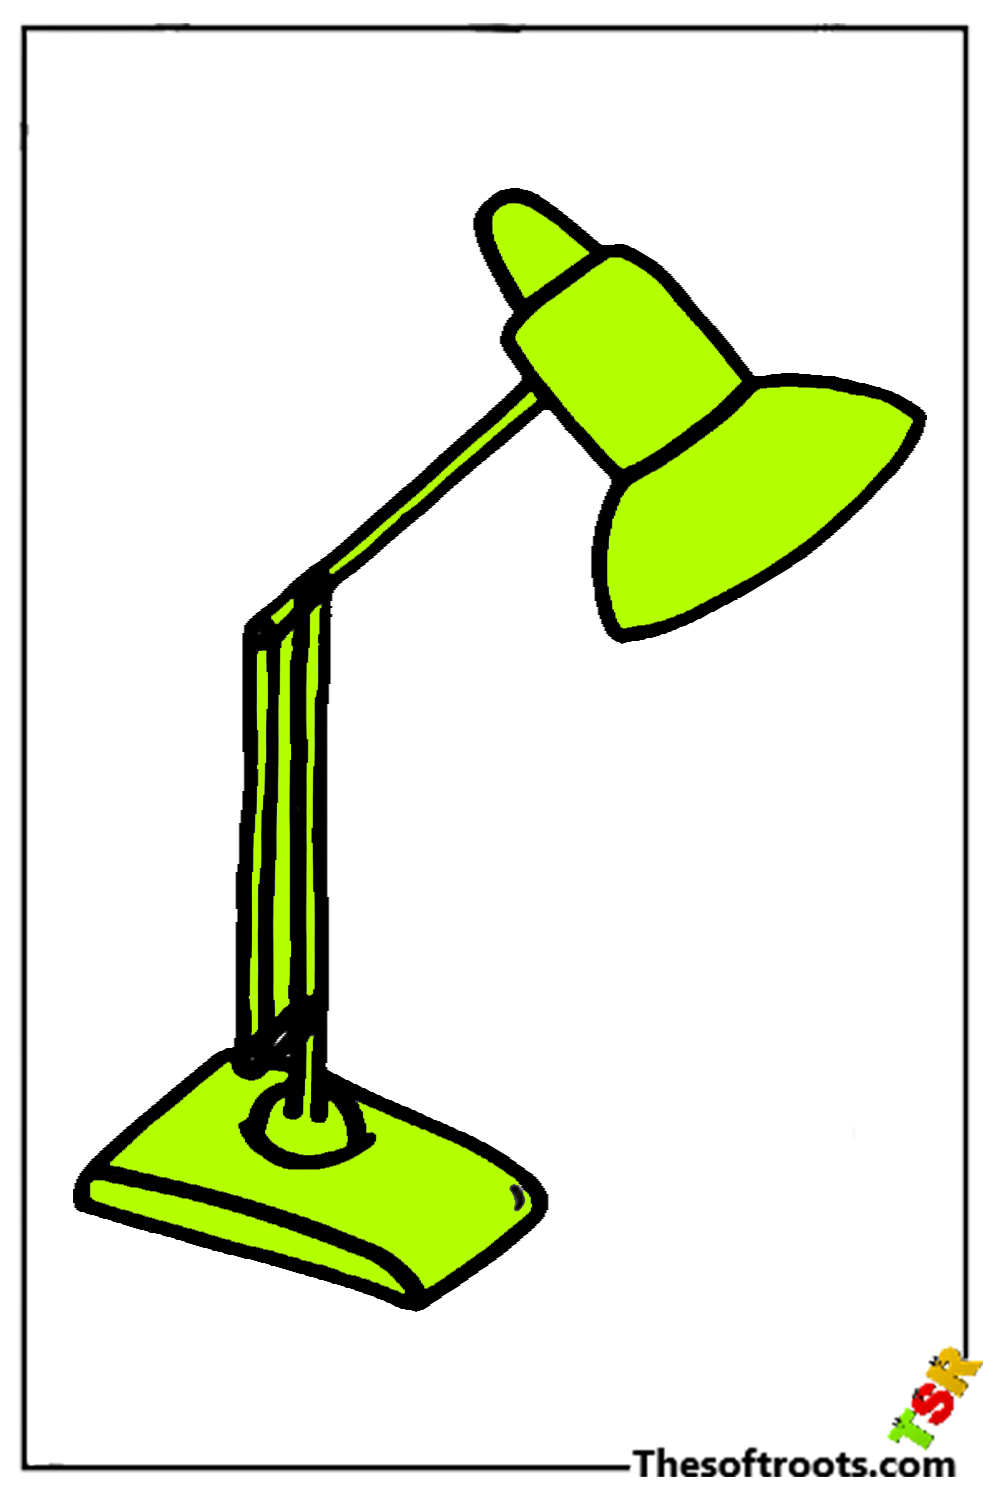
Lamp
Lamps are run-of-the-mill home gadgets that could give off an impression of being direct yet can have many purposes.
Visit the dog coloring pages.
They not only help to give a lamp to practices like scrutinizing or late-night fixes but can similarly be awesome in their arrangement to such an extent that it helps them decorate the room they lamp up.
With such endless styles of lamps, sorting out some way to draw a lamp can be a phenomenal technique for arranging your assortments.
This is the manual for being on accepting that sounds like something you should do.
Our little-by-little aid on the most capable technique to draw in a lamp’s 6 phases will uncover some knowledge into the collaboration and make them make your cool lamp plans!
Stage 1 – lamp Drawing
We will begin with the real lamp to get this helper on the most capable technique to draw a lamp. You can start this by characterizing a changed limit for the most noteworthy reason behind the lamp covering.
Then, at that point, you will need to draw a level semi-circle at the groundwork of it for the opening shot of the lamp. It would only be an exceptional lamp with a bulb to give some light. So we will end this step by drawing every bulb.
You can draw this bulb by characterizing another changed limit inside the send-off of the lamp. When you’re satisfied with what it resembles, we can then progress toward stage 2!
Stage 2 – Next, draw the start of the lamp arm
Various lamps will have an adaptable arm that licenses you to arrange them as necessary. We will begin the arm for your lamp drawing in the following stage.
First and foremost, you can begin by drawing a square shape on top of the lamp head where the arm will interface.
There will then, be two short lines tumbling off of that square shape, and these will join to another shape that is changed on one side with a straight edge on the other.
For the last piece of this step, you could use a ruler to get a couple of straight lines. When you’re ready, fundamentally extend a couple of straight lines off of the past shape that you, as of late, drew.
Stage 3 – Draw the rest of the arm and base
In this step, our helper on the most capable technique to draw a lamp. We will finish the arm and the base designs to have you arranged for a couple of last nuances.
In any case, draw one more of those shapes with a changed edge and a straight edge as you pulled in the past part. Then, at that point, extend two extra straight lines at a point slipping from this shape, which will provoke the base.
The base is direct and might be drawn as a truly level shape with just enough switches on top of it. The locale where the base points of interaction with the arm will, like manner, have one of those comparable changed shapes.
When you rehash these viewpoints as they appear in the image, you’ll be ready for the accompanying stage!
Stage 4 – By and by, keep on adding more detail to the lamp
We will add a couple of better nuances in this and the ensuing phase of your lamp drawing. We will focus on the arms first, remembering that they could appear to be made areas of strength because they are truly made of two wires for each arm.
To have this effect, add a couple of extra straight lines running, agreed with the internal edge of the arm outlines. That sounds more tangled than it truly is, and the reference picture will show you how it should look!
Then, add a couple of screws to the connective pieces of the arms by adding a little circle with a line through it on all of these connective parts.
Finally, you can add some line nuances to the highest point of the lamp alongside the bulb and base.
Stage 5 – Finish your lamp drawing
You have the entire drawing design all out at this point of our helper on the ideal way to draw a lamp. So as of now, we will finish the last specific nuances.
We kept these nuances extremely subtle in our model picture by adding some direct line nuances to all the lamp pieces. You can make the lamp have a pinch more definition.
When you have added these line nuances, you can add your own special piece! You could change up the arrangement and nuances of the lamp or give it some extra foundation data by drawing an establishment.
By drawing an establishment, you could show the workspace that this lamp is roosted on and draw in a couple of extra things to go with it. What kind of setting might you at some point put this lamp in?
Stage 6 – Finish your lamp drawing with some tone.
Nothing finishes a picture exceptionally like a couple of shocking assortments, which we will add for the last step of your lamp drawing! Our reference picture showed you the assortment plot we would go with.
These integrate shades of red and yellow for the endless lamp source, yet these assortments are just our thought. You could go for a practically identical assortment plan if you like the energy of it or use outstanding shades accommodating your inclination!
Also Read Moneyrunner