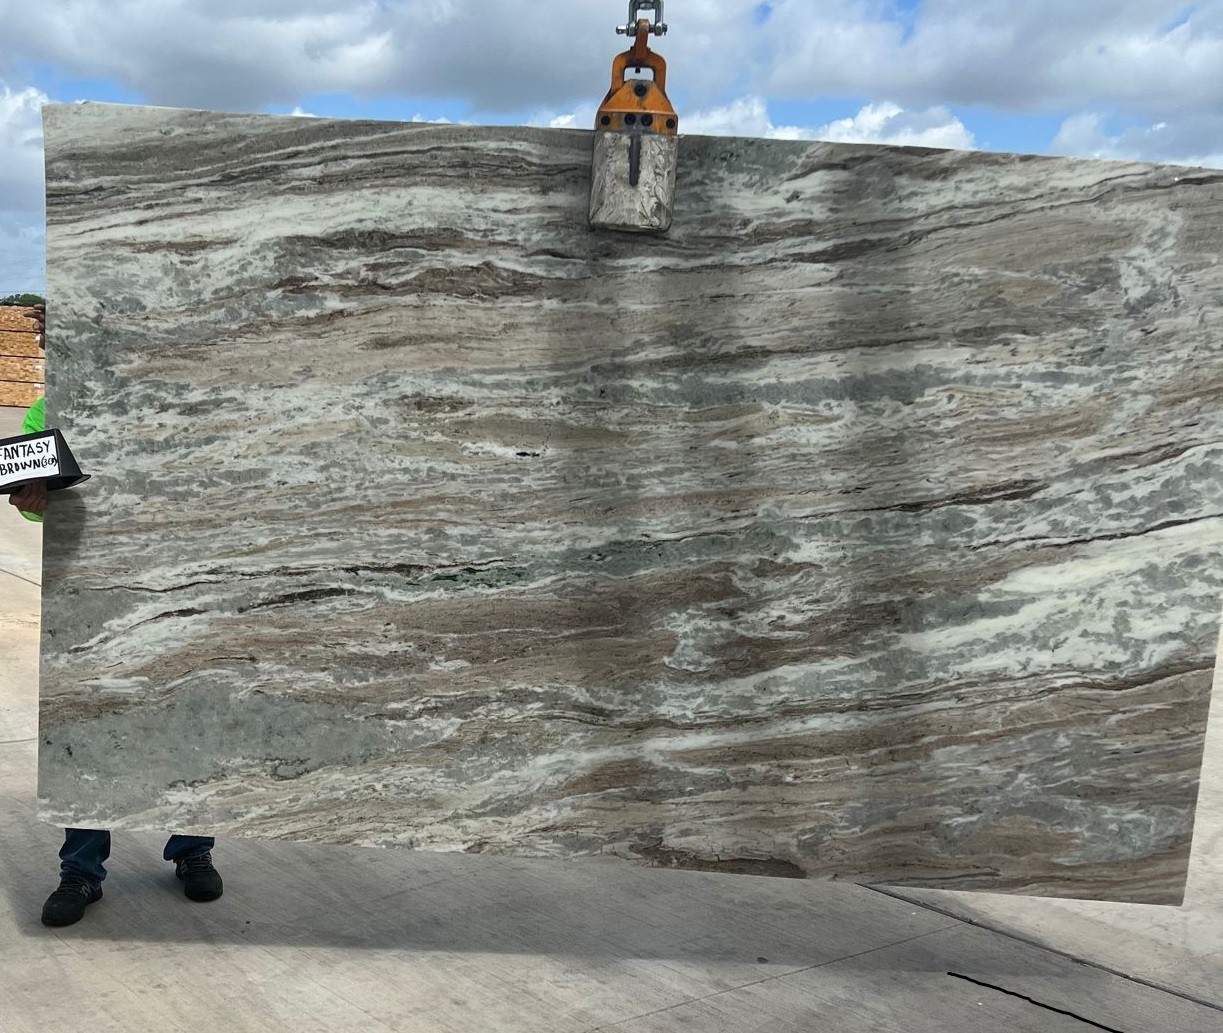
Marble flooring has long been revered for its timeless beauty and elegance. However, when the time comes for a renovation or a change in style, removing marble flooring can be a challenging task, especially when it’s adhered to concrete. In this comprehensive guide, we’ll walk you through the step-by-step process of removing brown marble flooring from a concrete surface while minimizing damage and ensuring a successful removal.
Before You Begin: Safety First
Removing marble flooring from concrete can be a labor-intensive and potentially hazardous task. Here are some essential safety precautions to keep in mind before starting:
Protective Gear: Wear safety glasses, gloves, a dust mask, and appropriate footwear to safeguard yourself from debris, dust, and potential injury.
Ventilation: Ensure good ventilation in the workspace to minimize dust inhalation and maintain a comfortable working environment.
Tools and Equipment: Gather the necessary tools and equipment, such as a chisel, a hammer, a pry bar, a heavy-duty scraper, a circular saw with a masonry blade, and a respirator for dust.
Power Sources: Make sure you have access to power sources for tools and lighting as needed.
Preparation: Remove any furniture or obstacles from the area and cover adjacent surfaces and walls to protect them from dust and debris.
Step 1: Evaluate the Marble Flooring
Before diving into the removal process, assess the condition of the brown marble flooring. Are there any loose or damaged tiles? If so, remove them first to make the overall removal easier.
Step 2: Remove the Grout
Use a grout saw or an oscillating multi-tool with a grout removal attachment to cut through the grout lines between the marble tiles. Be careful not to chip or damage the tiles during this process. Removing the grout will help loosen the tiles and make them easier to lift.
Step 3: Start with a Corner Tile
Begin in a corner or an inconspicuous area. Insert a chisel or a pry bar underneath a corner tile, preferably one that you’ve already removed the grout from. Gently tap the chisel or pry bar with a hammer to lift the tile from the concrete. Exercise caution to avoid breaking the tile into smaller pieces.
Step 4: Work Your Way Out
Once you’ve successfully removed the corner tile, continue to work your way out, lifting and removing adjacent tiles. Be patient and take your time to prevent unnecessary damage to the tiles or the concrete underneath.
Step 5: Use a Circular Saw
If the marble tiles are securely adhered to the concrete and prove challenging to remove with hand tools alone, consider using a circular saw with a masonry blade. Set the depth of the blade to slightly cut through the thickness of the marble tile. Make cuts across the tile’s surface, creating a grid pattern. Be cautious not to cut too deeply into the concrete.
Step 6: Pry Up the Sections
With the grid pattern cut into the marble tiles, use a heavy-duty scraper or a pry bar to gently lift the sections of the tile. Start with the corners or edges created by the circular saw cuts and work your way towards the center of each tile section. This process should make the removal of individual sections easier and reduce the risk of damaging the concrete beneath.
Step 7: Remove Adhesive Residue
After removing the marble tiles, you may encounter adhesive residue on the concrete. Use a scraper or a floor grinder equipped with a diamond grinding wheel to carefully remove the adhesive. Ensure that the surface is clean, level, and free from any remnants of the old flooring.
Step 8: Clean and Prepare the Concrete
Once all the marble and adhesive residue are removed, thoroughly clean the concrete surface to remove any dust, debris, or residue. Vacuum or sweep the area, and then wash it with a solution of mild detergent and water. Rinse thoroughly and allow it to dry completely before proceeding with any new flooring installation.
Step 9: Dispose of the Marble Responsibly
Dispose of the removed marble tiles and any debris responsibly, following local regulations and guidelines for construction waste disposal.
Conclusion
Removing brown marble flooring from a concrete surface can be a challenging DIY task, but with the right tools, safety precautions, and patience, it can be accomplished successfully. Remember to protect yourself with appropriate safety gear, take your time to avoid unnecessary damage, and prepare the concrete surface properly for any future flooring installations.
If you’re unsure about your DIY skills or prefer professional assistance, it’s always a good idea to consult with a qualified flooring contractor who can handle the removal process efficiently and safely. Whether you’re refreshing your space with new flooring or embarking on a complete renovation, the careful removal of marble flooring from concrete is the first step toward creating a fresh and updated look for your home.

